
HOW DO I BREW IT?
There is no “one true way” to brew. Coffee is personal, and how you make it is your business. If you’re happy with your current setup, keep it. But if you’re curious about trying something new, here are some tried-and-true methods.
ESPRESSO (1:2)
Our starting point for dialing that perfect shot.
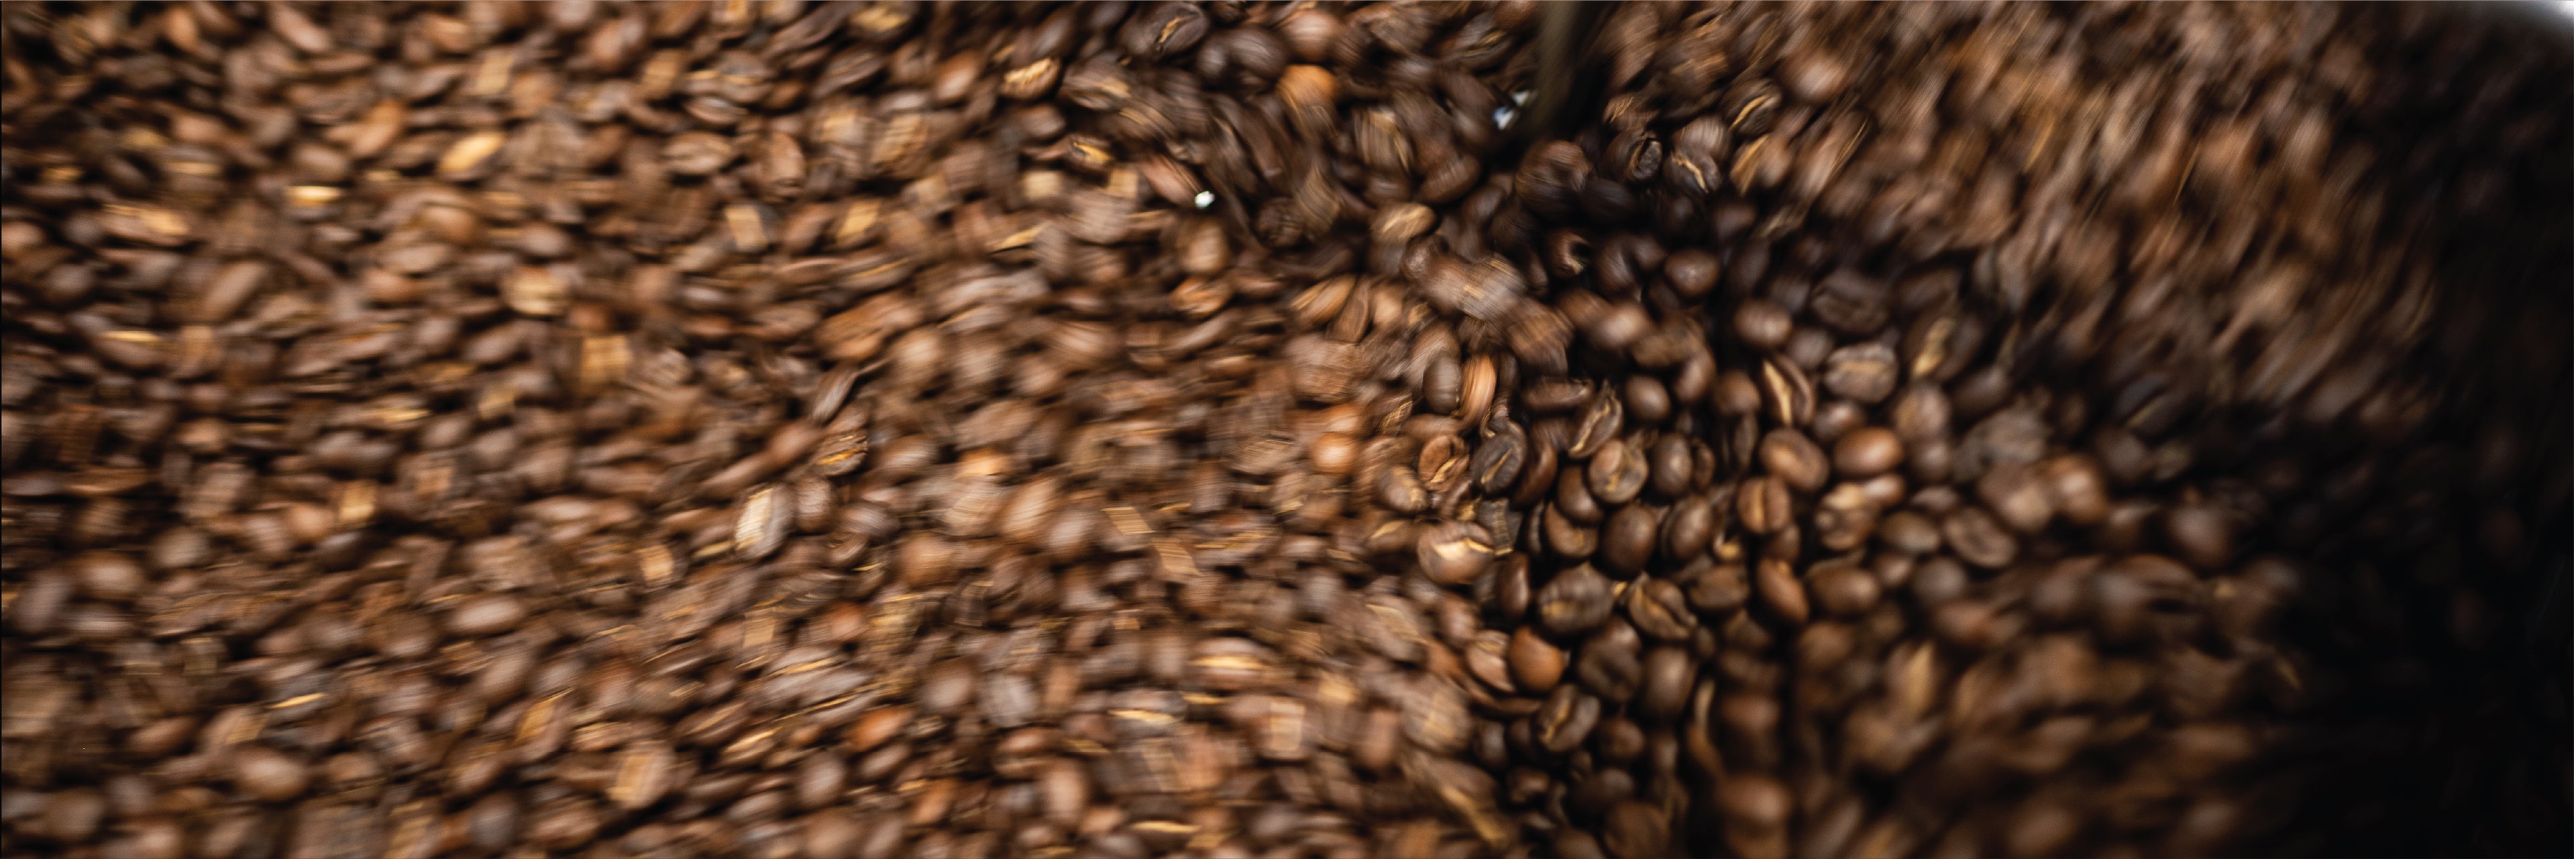
STEP 1: GRINDING
Start with 18g of coffee beans in your grinder (your "dose"). Each grinder is different, so if you're unsure, start with the grind setting suggested in the product manual.
TIP: Consider spritzing your beans with a bit of water before placing them into the grinder. The water helps eliminate static during the grinding process.
STEP 2: PREPPING
Add the coffee grounds into your portafilter, place your tamper over the top and apply downward pressure onto the grounds to compact them.
TIP: If you own a WDT tool or a Coffee Distributor, use them before tamping. A WDT is an accessory with needles to stir your grounds, breaking up large clusters and distributing them evenly within the portafilter. A Coffee Distributor is a tool that's placed on top of the portafilter and rotated several times to level the grounds.
STEP 3: PULLING
Start the espresso cycle.
The first phase is known as pre-extraction. Hot water enters the portafilter chamber, infuses the grounds, and begins to build up pressure. Aim for 5-8 seconds of pre-extraction, meaning 5-8 seconds from the start of the water flow to the moment you see coffee exiting through your portafilter.
TIP: It's easier to see the process if you own a bottomless portafilter. Consider investing in one if you want to get more serious about hitting the timestamps.
The second phase is extraction. This is the time in which the espresso machine dispenses the desired amount of espresso into your cup. Aim for 25-30 seconds to dispense 36g of espresso. A mini kitchen/coffee scale will get you a precise reading.
STEP 4: REFINING
If the espresso is dispensing too quickly, go with a finer grind setting. If the liquid is releasing too slowly, try for a coarser grind. Your kitchen environment, the freshness of the beans, and equipment can all affect the output, so keep tinkering until you nail down the perfect shot. Have fun!
POUR OVER (1:16)
Clean, balanced, and feels a little fancy without being fussy.
STEP 1: BOIL THE WATER
Start with around 1000g of water. Bring it to a boil and let it rest for about a minute.
TIP: Having a thermometer for this is ideal as we are aiming for around 95°C, but if you don’t have one, just think hot, not volcano.
STEP 2: GRINDING
While the water is boiling, grind 45g of coffee to a medium-coarse texture. Each grinder is different, so if you're unsure, start with the grind setting suggested in the product manual.
TIP: Consider spritzing your beans with a bit of water before placing them into the grinder. The water helps eliminate static during the grinding process.
STEP 3: PREPPING
Wet the paper filter with a small amount of hot water. Discard any water that drains into the carafe below. Add the grounds into the center of the paper filter.
STEP 4: BREWING
Begin by pouring 80-100g of water onto the grounds and let it rest for 30 seconds. This helps the grounds bloom before you go full tilt. After blooming, pour the remaining water (720g) over the grounds in a consistent, circular motion to maintain a drip, not a river of coffee falling into the carafe. Aim to pour the water around the outer edge of the filter without touching the edges. Pouring directly down the middle will concentrate the water into the center of the grounds, omitting the sides and resulting in an uneven extraction.
TIP: If the drip is too slow, go coarser on your grind, and if it is too fast, go finer.
AUTO DRIP (1:17)
Good old “push the button” coffee. Reliable.
STEP 1: GRINDING
Start with 60g of medium-coarse ground coffee (or your coffee machine's designated dose).
TIP: Consider spritzing your beans with a bit of water before placing them into the grinder. The water helps eliminate static during the grinding process.
STEP 2: PREPPING
Add 1020g of water to your machine, or fill to the designated water level. Insert the filter into the basket and add the ground coffee.
TIP: Leave a little headspace in the basket as fresh beans puff up like crazy.
STEP 3: BREWING
Hit the button and wait! Pour. Sip. Repeat until you are functional.
FRENCH PRESS (1:15)
Rich, bold, and low-tech.
STEP 1: BOIL THE WATER
Start with 825g of water. Bring it to a boil and let it rest for about a minute.
TIP: Having a thermometer for this is ideal as we are aiming for around 95°C, but if you don’t have one, just think hot, not volcano.
STEP 2: GRINDING
While the water is boiling, grind 55g of coffee to a coarse texture. Each grinder is different, so if you're unsure, start with the grind setting suggested in the product manual.
TIP: Consider spritzing your beans with a bit of water before placing them into the grinder. The water helps eliminate static during the grinding process.
STEP 3: BREWING
Add the coffee grounds into the French press. Start the timer for 4 minutes. Slowly add the water, ensuring that all the grounds make contact with the water. Place the lid on top to keep the heat in, but do not plunge. After 4 minutes, press down slowly on the plunger.
TIP: If you have more time on your hands, coffee guru James Hoffman has alternative French Press brewing method that is worth trying out. You can find his video HERE.
MOKA POT
Old-school stovetop magic. Strong and punchy.
STEP 1: GRINDING
Grind 18g of coffee to a medium-fine texture. Each grinder is different, so if you're unsure, start with the grind setting suggested in the product manual.
TIP: This is the amount recommended for a single serving of coffee. Moka pots come in all different sizes, so scale up where needed.
STEP 2: PREPPING
Fill the bottom chamber with hot water to just under the valve. Insert the basket and add your coffee grounds. Assemble and heat.
TIP: When packing the basket, level off if necessary, but do not tamp down. Let it be free.
STEP 3: BREWING
Use medium heat and listen for the hiss and bubbling. Kill the heat before it sputters to avoid any extra bitterness.